Mastering Injection Molding: A Step-by-Step Overview of Injection Molding Process
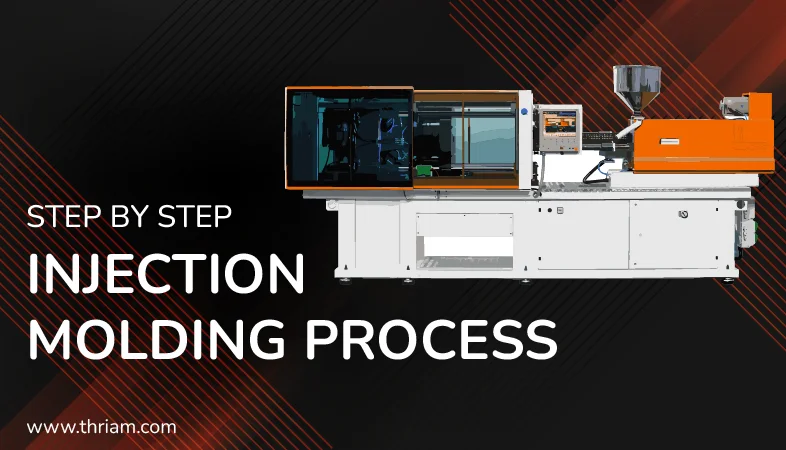
Injection molding is a widely used manufacturing process for producing plastic parts in large quantities. It offers high efficiency, accuracy, and repeatability, making it a preferred choice for various industries. In this blog, we will walk you through the step-by-step process of injection molding, providing a comprehensive understanding of its intricacies and essential components.
I. Introduction
The injection molding process involves several critical components, including the mold, injection unit, clamping unit, and electricity and heating systems. The mold, made of steel or aluminum, determines the part's final shape, while the injection unit melts and injects the material into the mold cavity. The clamping unit ensures that the mold halves align correctly and hold the material under pressure until it solidifies.
Several steps are involved in injection molding, including material preparation, mold preparation, injection, cooling, and ejection. Material preparation involves selecting the appropriate resin and preparing it for injection by drying, heating, and mixing. Mold preparation involves cleaning and inspecting the mold and applying a release agent to facilitate part release.
During injection, the molten plastic material is injected into the mold cavity while ensuring that it fills all areas of the mold. Cooling ensures that the material solidifies properly, while ejection releases the finished product from the mold.
Injection molding is commonly used in several industries, including automotive, consumer goods, packaging, and medical devices. Its advantages include high precision, consistency, and speed, making it popular in the mass production of plastic parts.
II. Preparing the Mold
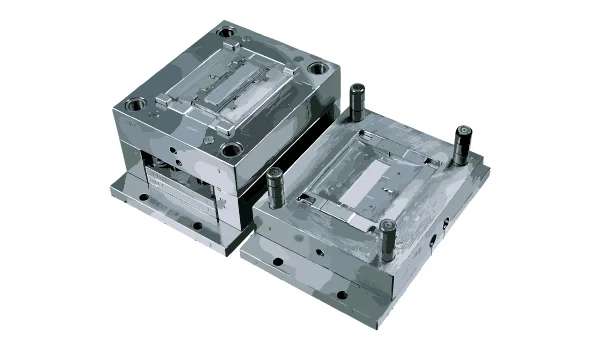
The initial step in injection molding is preparing the mold, which involves several essential procedures.
Firstly, the mold needs to be thoroughly cleaned and inspected. This ensures that there are no remnants of previous materials or debris that could affect the quality of the final product. Additionally, any damages to the mold, such as cracks or imperfections, should be detected and repaired beforehand.
Next, the mold undergoes a heating and cooling process. The mold must be precisely heated to the appropriate temperature to allow for proper material flow and optimal mold filling. Once the plastic material solidifies inside the mold, it needs to be cooled down effectively. Temperature control during heating and cooling is critical for achieving consistent and dimensionally accurate parts.
Furthermore, applying mold release agents helps with easing the release of the molded part from the mold. This is particularly important for complex or intricate designs.
III. Material Preparation
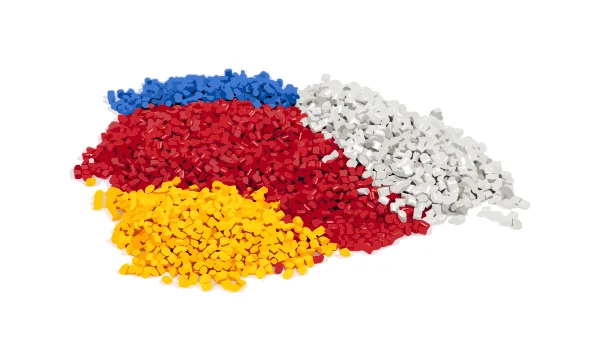
In this section, we focus on the preparation of the plastic material used in injection molding.
Selecting the appropriate material is crucial to ensure the desired properties and functionality of the final product. Factors such as strength, flexibility, chemical resistance, and appearance must be considered when choosing a resin.
Before feeding the plastic material into the injection molding machine, it is essential to prepare the material properly. This involves processes such as resin drying and blending, especially when working with hygroscopic materials. Granulating the resin into smaller pellets, drying them to remove any moisture content, and then loading the material into the machine's hopper are crucial steps to ensure optimal melt quality.
IV. Injection Molding Machine Setup
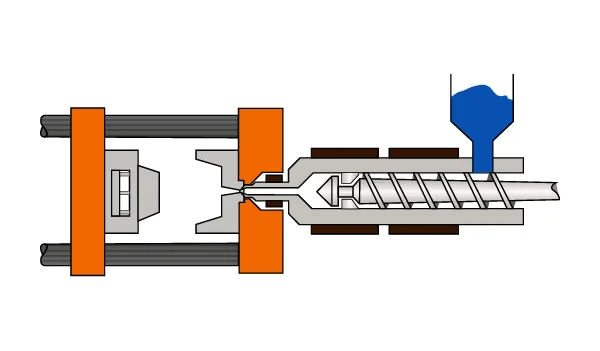
Now that the mold and material are prepared, it's time to set up the injection molding machine.
Start by installing and aligning the mold within the machine. Proper alignment ensures that the molten plastic is injected accurately into the mold cavities.
Adjusting machine parameters is another critical aspect of the setup process. The machine's temperature, pressure, and speed settings must be configured according to the properties of the material and the requirements of the final product. Additionally, it is crucial to adhere to machine and mold safety measures to prevent accidents or damage during operation.
V. Injection Process
Once the machine is set up correctly, the injection process can begin. This section provides a step-by-step breakdown of the injection molding process.
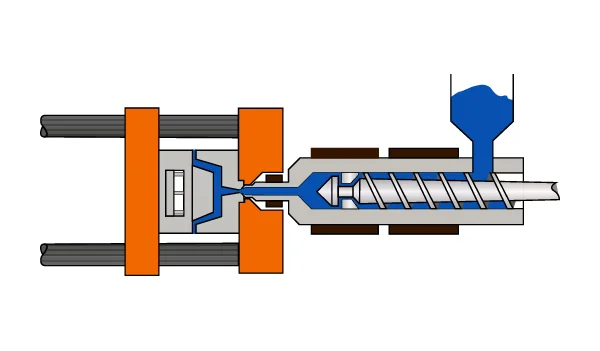
The process starts with the injection unit, which feeds the molten plastic material into the mold's cavity. The plastic is injected under high pressure to ensure complete filling of the mold and the desired part shape.
After the plastic material is injected, the mold closes and clamps to secure the part's shape. It is essential to maintain the mold's closure force to prevent any leaks or material pushback.
Once the mold is closed, the material is held under pressure to ensure proper cooling and solidification of the part. Controlled cooling time allows the plastic to solidify with the desired structural integrity.
After cooling, the mold is opened, and the newly formed part is ejected. Depending on the mold design and complexity, additional mechanisms may be employed to facilitate proper part ejection.
VI. Post-Injection Molding Steps
Although the injection molding process yields excellent results, there are a few post-injection steps that may be required.
Post-injection issues such as sink marks, flash, or warping may sometimes occur. Sink marks are depressions on the part's surface, while flash is excess material found around the edges. Warping refers to any deformation in the part's shape. These issues can be mitigated by tuning the machine's parameters, adjusting the mold design, or employing additional support structures.
Trimming and finishing the injection molded part is another important post-injection step. Removing any excess material or burrs ensures the final part meets the desired specifications and aesthetic requirements.
Additionally, quality control and inspection are essential to verify the part's accuracy, strength, and overall quality. These processes help identify any defects or deviations that may have occurred during the injection molding process.
VII. Conclusion
In conclusion, understanding the step-by-step overview of the injection molding process provides a solid foundation for appreciating the intricacies involved in producing plastic parts. From mold preparation and material handling to machine setup and the injection process, each step contributes to achieving high-quality and consistent results. By following these steps meticulously, manufacturers can optimize their injection molding processes and deliver reliable and efficient products.