The Injection Molding Troubleshooter: A Guide to Common Defects and Their Solutions
Injection molding, while a highly efficient and versatile manufacturing process, is not without its challenges. Various defects can arise during the molding process, affecting part quality, functionality, and aesthetics. Identifying the root cause of these defects is crucial for implementing effective corrective actions and minimizing production losses. This comprehensive guide delves into the most common injection molding defects, explaining their causes, providing visual examples (where possible with text descriptions), and outlining practical troubleshooting solutions.
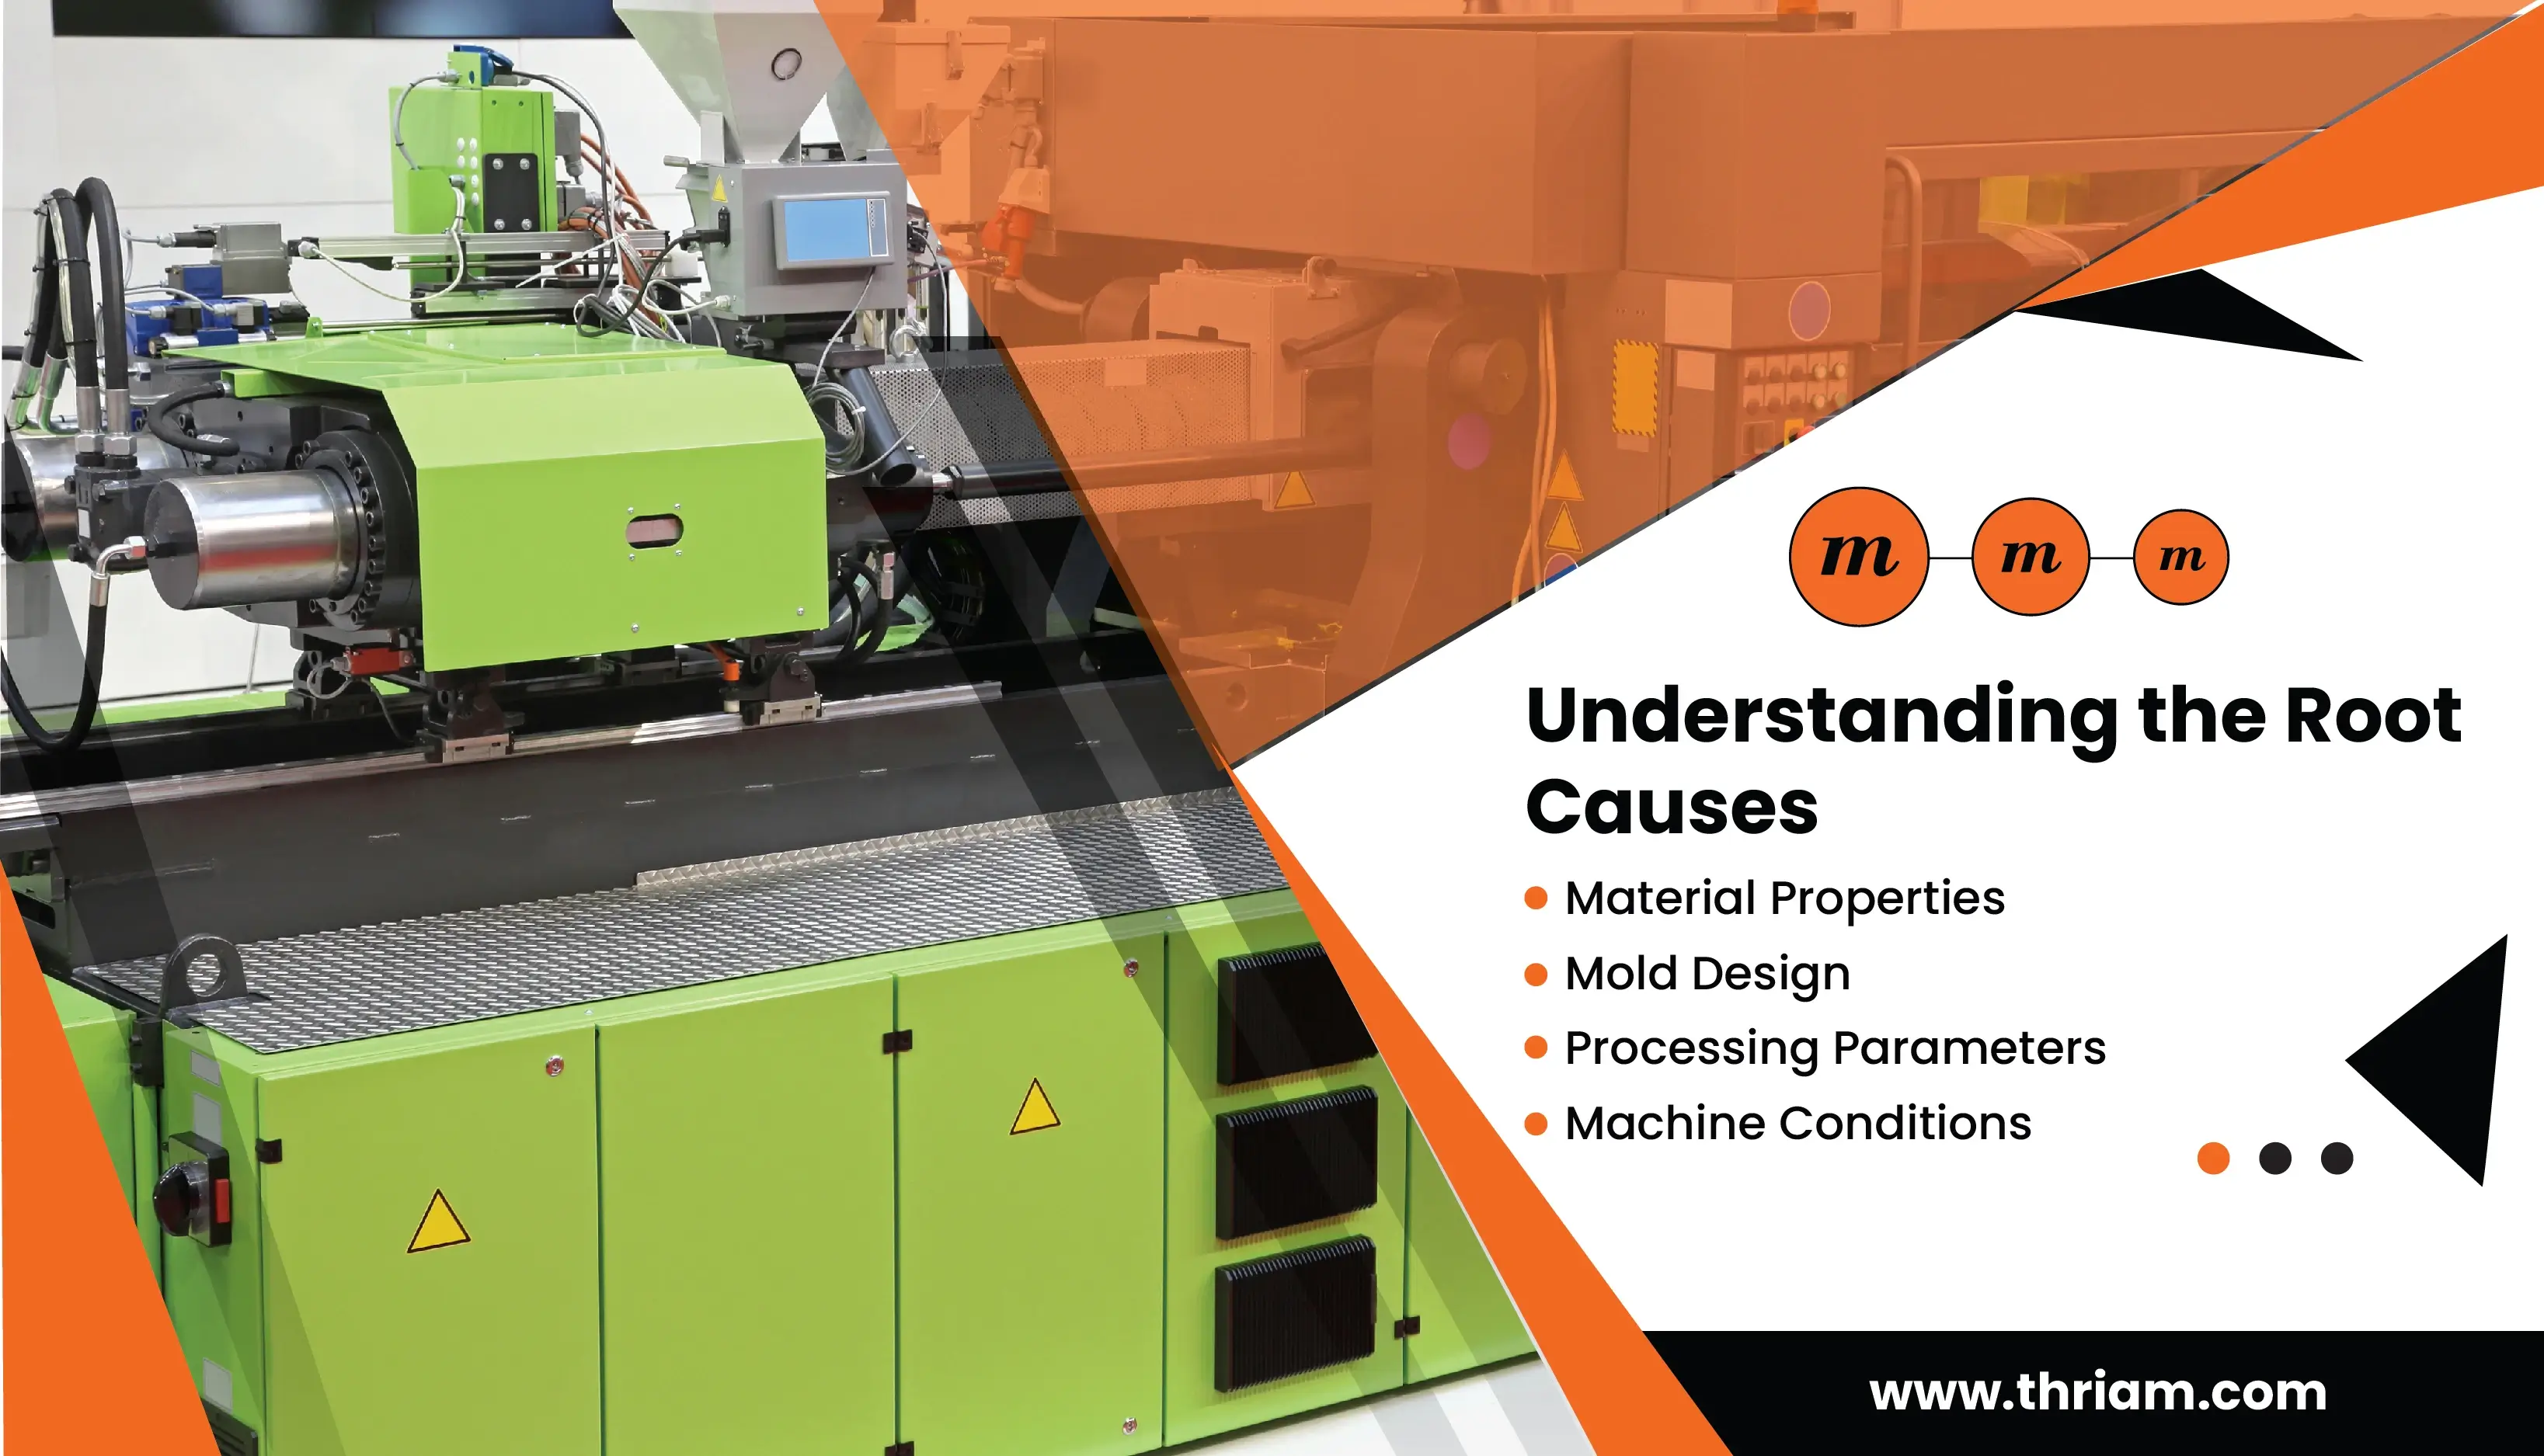
Understanding the Root Causes:
Before diving into specific defects, it's essential to understand the primary factors that contribute to molding issues:
- Material Properties:Material viscosity, melt flow index (MFI), shrinkage rate, and thermal conductivity play a significant role.
- Mold Design:Inadequate gating, venting, cooling channels, or draft angles can lead to various defects.
- Processing Parameters:Incorrect injection pressure, speed, temperature, packing pressure, and cooling time can all contribute to problems.
- Machine Conditions:Issues with the injection molding machine, such as worn screws or malfunctioning heaters, can also cause defects.
Common Injection Molding Defects and Troubleshooting:
Fortunately, several strategies can significantly reduce the cost and improve the feasibility of low-volume injection molding:
- Sink Marks:
- Description:Depressions or indentations on the surface of the molded part, typically occurring in thicker sections.
- Causes:Localized shrinkage due to uneven cooling or insufficient packing pressure. Thicker sections cool slower than thinner sections, leading to greater volumetric shrinkage.
- Troubleshooting:
- Increase packing pressure and time.
- Reduce melt temperature (within recommended range).
- Reduce mold temperature.
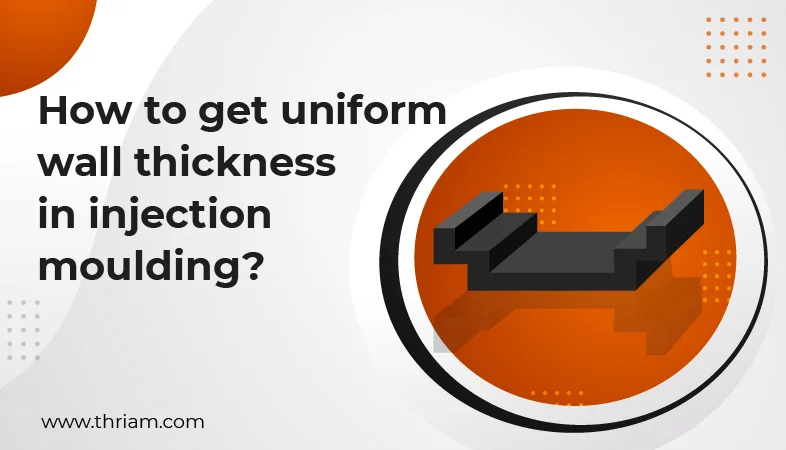
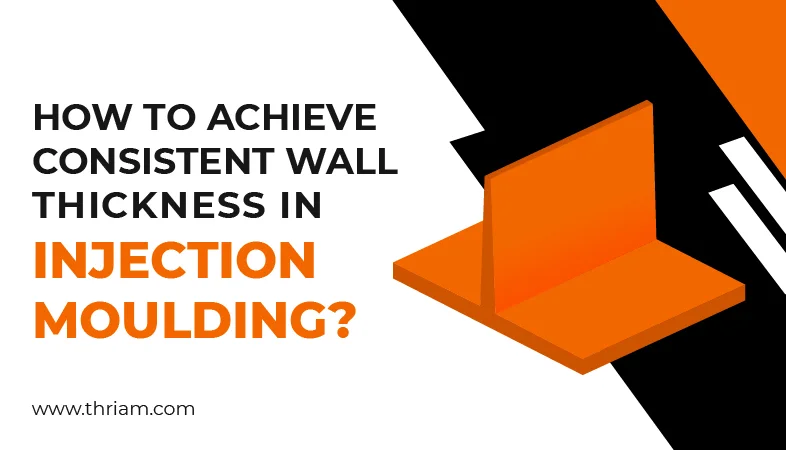
- Redesign the part to have more uniform wall thickness.
- Add coring or ribs to thicker sections to promote even cooling.
- Warping:
- Description:Distortion or bending of the molded part, deviating from the intended shape.
- Causes:Uneven cooling, residual stresses, or fiber orientation in filled materials. Different cooling rates in different areas of the part cause varying degrees of shrinkage, leading to warping.
- Troubleshooting:
- Optimize cooling channel design for uniform cooling.
- Reduce mold temperature.
- Increase cooling time.
- Use a material with lower shrinkage.
- Redesign the part for more uniform wall thickness and symmetry.
- Use appropriate mold clamping force.
- Short Shots:
- Description:Incomplete filling of the mold cavity, resulting in missing features or incomplete parts.
- Causes:Insufficient melt volume, low injection pressure, restricted flow paths (small gates or runners), inadequate venting, or low melt temperature.
- Troubleshooting:
- Increase injection pressure and speed.
- Increase melt temperature (within recommended range).
- Increase shot size (material volume).
- Enlarge gates and runners.
- Improve venting.
- Check for obstructions in the material flow path.
- Flash:
- Description:Excess material flowing outside the mold cavity, typically along the parting line or other mold interfaces.
- Causes:Excessive injection pressure, low clamping force, worn or damaged mold, or improper mold alignment.
- Troubleshooting:
- Reduce injection pressure.
- Increase clamping force.
- Inspect and repair or replace the mold.
- Ensure proper mold alignment.
- Check for proper venting (excessive venting can also contribute to flash).
- Flow Lines (or Weld Lines/Knit Lines):
- Description: Visible lines or marks on the part surface where two or more melt fronts meet. These lines can be weak points in the part.
- Causes:Multiple gates, complex flow paths, low melt temperature, or slow injection speed. When separate melt flows meet, they may not fuse completely, creating a visible line.
- Troubleshooting:
- Increase melt temperature (within recommended range).
- Increase injection speed.
- Relocate gates to minimize flow path length and number of weld lines.
- Increase venting at the weld line location.
- Use a material with better flow characteristic
- Jetting:
- Description:A wavy or snake-like pattern on the part surface, often occurring near the gate.
- Causes:High injection speed, narrow gates, or long flow paths. The molten plastic shoots into the cavity like a jet stream, cooling rapidly and creating the wavy pattern.
- Troubleshooting:
- Reduce injection speed.
- Enlarge the gate.
- Modify the gate location or design.
- Increase melt temperature (within recommended range).
- Burn Marks (or Diesel Effect):
- Description:Discoloration or blackening of the part surface, often near the gate or vents.
- Causes:Trapped air or gas being compressed and heated excessively during injection, leading to burning of the plastic.
- Troubleshooting:
- Improve venting.
- Reduce injection speed.
- Lower melt temperature (within recommended range).
- Reduce clamping force (slightly).
- Voids (or Bubbles):
- Description:Internal air pockets or voids within the molded part.
- Causes:Trapped air or gas, insufficient packing pressure, or high melt temperature.
- Troubleshooting:
- Improve venting.
- Increase packing pressure and time.
- Reduce melt temperature (within recommended range).
- Increase shot size (material volume).
- Surface Defects (e.g., Orange Peel, Dull Surface):
- Description:Surface imperfections such as a textured "orange peel" appearance or a lack of gloss.
- Causes:Low mold temperature, low melt temperature, or high humidity.
- Troubleshooting:
- Increase mold temperature.
- Increase melt temperature (within recommended range).
- Ensure proper mold surface finish.
- Control humidity in the molding environment.
- Delamination:
- Description:Layer separation or peeling of the part surface, often seen in filled or multi-layered materials.
- Causes:Incompatible materials, excessive regrind content, or moisture contamination.
- Troubleshooting:
- Ensure material compatibility.
- Reduce regrind content.
- Dry the material properly before molding.
Preventive Measures:
While troubleshooting is essential, preventing defects in the first place is even more effective. Key preventive measures include:
- Careful Material Selection:Choose the right material for the application and ensure proper drying.
- Well-Designed Mold:Invest in a high-quality mold with adequate gating, venting, and cooling.
- Optimized Process Parameters:Establish and maintain optimal injection molding parameters.
- Regular Maintenance:Regularly inspect and maintain the injection molding machine and mold.
- Operator Training:Properly trained operators are essential for identifying and addressing potential issues.
Conclusion
Troubleshooting injection molding defects requires a systematic approach, combining knowledge of material properties, mold design, and processing parameters. By understanding the causes of common defects and implementing the recommended solutions, manufacturers can significantly improve part quality, reduce scrap rates, and optimize production efficiency. Prevention, through careful design, material selection, and process control, is the most effective way to minimize defects and ensure consistent, high-quality output. This guide serves as a valuable resource for injection molding professionals seeking to master the art of defect-free production.
